Dock Timelapse
Record how your macOS Dock evolves and render Apple-style timelapse videos of it.
Dock Timelapse
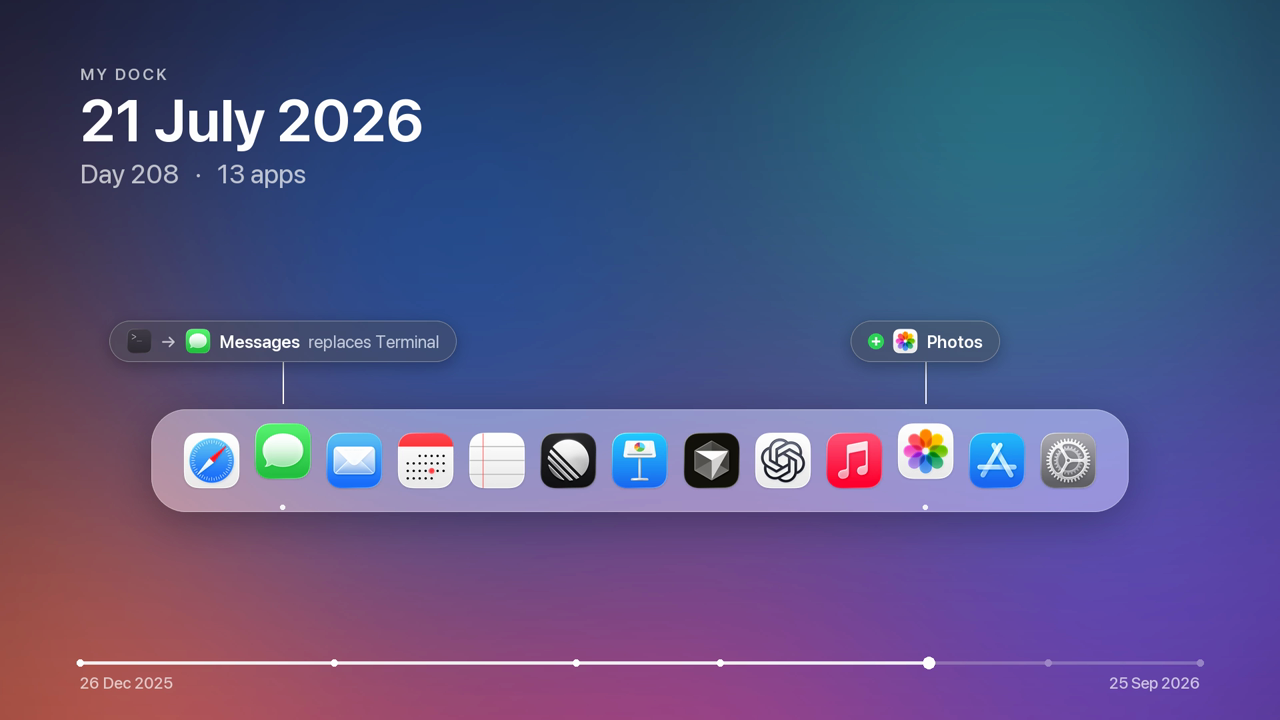
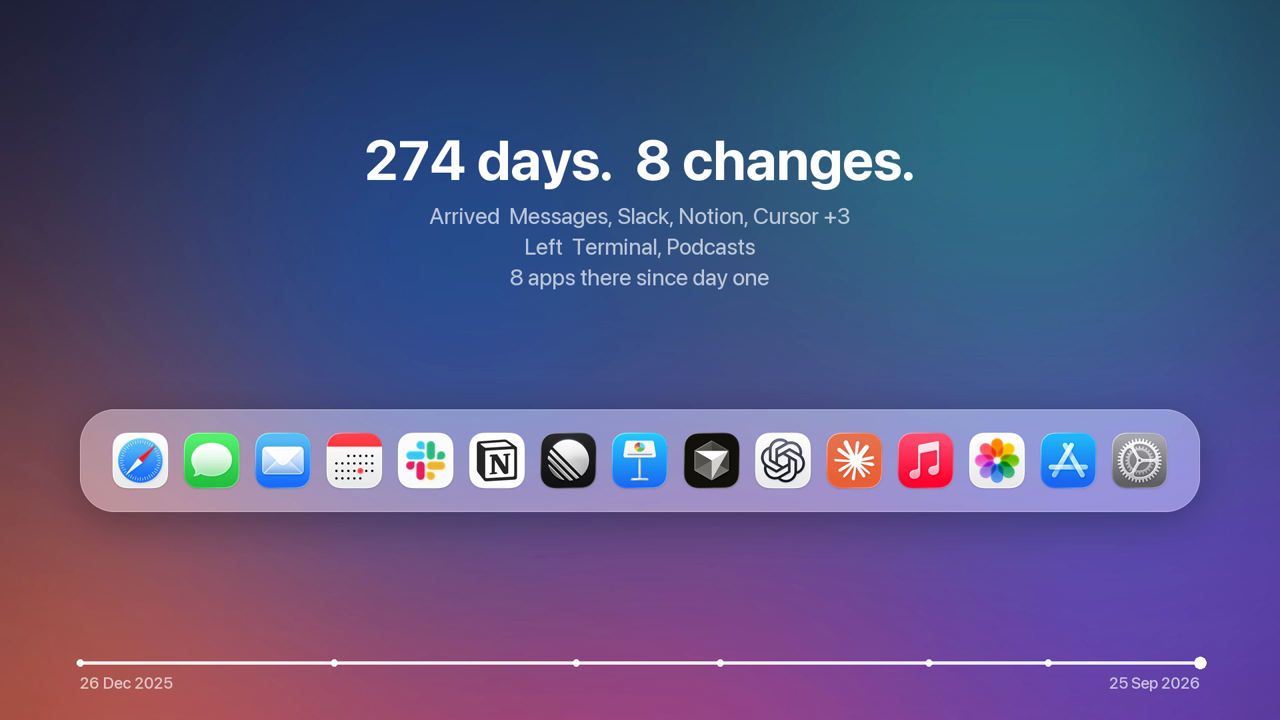
Your Dock tells the story of the tools you live in. Dock Timelapse records it quietly every day and turns its evolution into an Apple-style timelapse: apps springing in, others handing over their spot, a day counter ticking, all drawn over your own wallpaper.
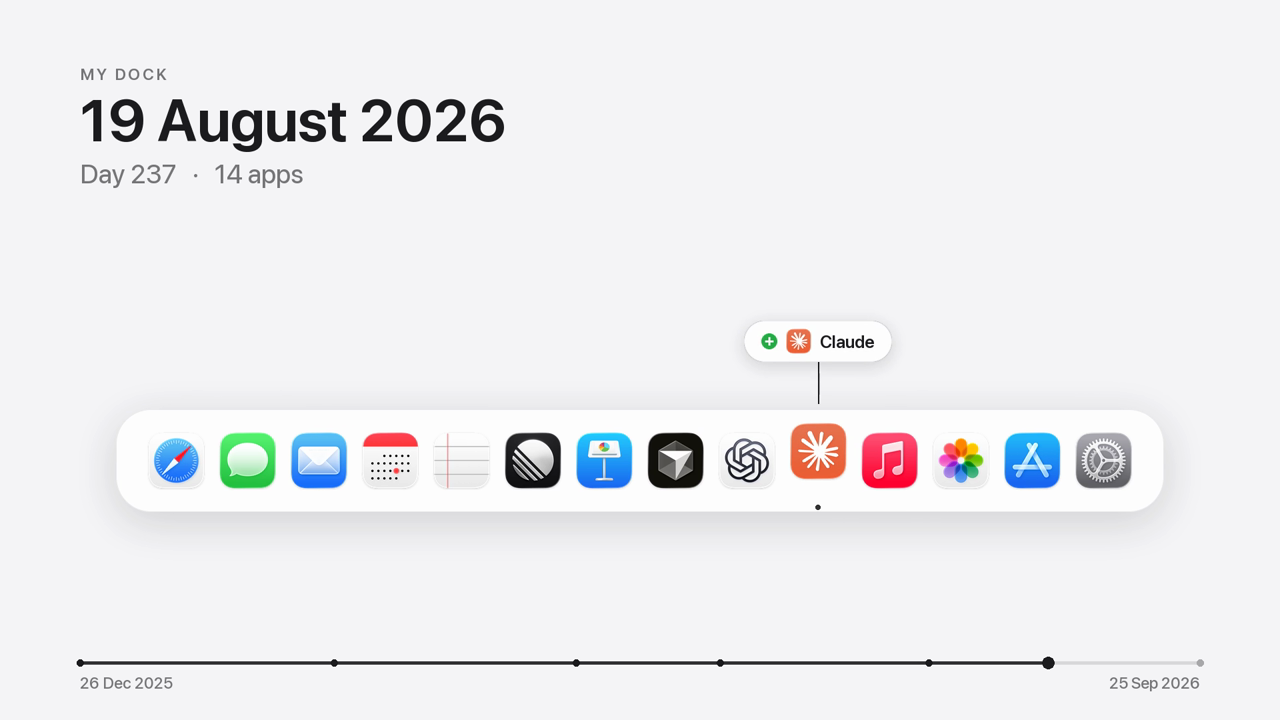
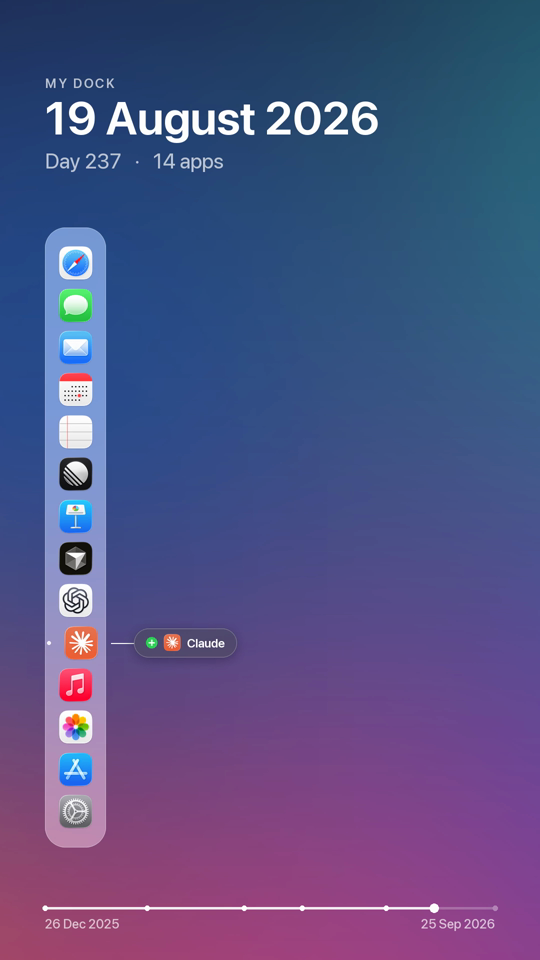
Demo render with an invented nine-month history. The real output is 1920×1080 and 1080×1920 H.264 at 60 fps.
| Replacements and arrivals, labelled next to the icon | End card with the story in numbers |
|---|---|
 |  |
White background (--background white) | Portrait — a vertical Dock with labels alongside |
 |  |
How it works
- Records — an hourly background agent reads the Dock's own preferences (the pinned apps, up to and including System Settings). On each day the Dock changes it saves a snapshot: the app list, every icon in high resolution, and the current wallpaper. Optionally it keeps a cropped Dock screenshot too.
- Renders — the videos are redrawn from that data: a glass Dock over your blurred wallpaper, spring
animations, change labels (
+ Linear,Cursor replaces Xcode), the date and day counter, and a progress bar scaled to real calendar time. - Previews on day one —
previewinvents a plausible past that ends with your real Dock, so you can see your video right away.
Requirements: macOS and uv. ffmpeg comes bundled.
Install
Command line
uv tool install dock-timelapse

dock-timelapse install        # start recording (hourly agent, one snapshot per day of change)
dock-timelapse preview        # see your video now, with an invented past
dock-timelapse render         # later: the real timelapse → ~/Movies/Dock Timelapse/
Claude Code
/plugin marketplace add bcldvd/dock-timelapse
/plugin install dock-timelapse@dock-timelapse
The plugin brings the skill and the MCP server. Then just ask: "start recording my Dock", "make a timelapse of my Dock", "which apps did I add since June?"
Codex, Cursor, Gemini CLI, Copilot and other agents
The skill follows the open Agent Skills format:
npx skills add bcldvd/dock-timelapse -y
MCP server (Claude Desktop, Codex, Cursor, VS Code, …)
{
  "mcpServers": {
    "dock-timelapse": {
      "command": "uvx",
      "args": ["dock-timelapse", "mcp"]
    }
  }
}
Codex (~/.codex/config.toml):
[mcp_servers.dock-timelapse]
command = "uvx"
args = ["dock-timelapse", "mcp"]
Tools: dock_status, current_dock, dock_history, install_recording, uninstall_recording,
capture_now, render_timelapse, render_preview, render_frame.
Usage
dock-timelapse status                                     # recording state + every snapshot and its changes
dock-timelapse render --format portrait                   # landscape | portrait | both (default)
dock-timelapse render --background white                  # wallpaper (default) | desktop (sharp) | white
dock-timelapse preview --demo                             # a generic demo Dock
dock-timelapse still --t 2 5.5                            # single PNG frames
dock-timelapse install --screenshots                      # also keep Dock screenshots
dock-timelapse uninstall                                  # stop recording, history stays
Screenshots use the Screen Recording permission: install --screenshots prints the Python path to add in
System Settings → Privacy & Security → Screen & System Audio Recording. The videos only need the Dock data,
so this step is optional.
Data lives in ~/Library/Application Support/dock-timelapse/ (snapshots.json, icons, wallpapers, and
capture.log).
Development
uv sync
uv run pytest
| module | role |
|---|---|
dockdata.py | parse Dock prefs → ordered apps, up to System Settings |
diff.py | added / removed / replaced / moved between two Docks |
store.py | snapshots on disk, one per day of change |
capture.py · visibility.py · macos.py | one capture attempt; Dock visibility; the macOS calls |
agent.py | the launchd agent |
timeline.py · layout.py | pure animation model and geometry |
render.py · video.py | Pillow frames → ffmpeg H.264 |
poc.py | invented histories for previews |
mcp_server.py | MCP tools |
License
MIT
Installation
Source-derived launch command. Check the maintainer’s required arguments and credentials before running:
uvx dock-timelapseSet up in your AI client
Merge this template into ~/Library/Application Support/Claude/claude_desktop_config.json. Keep existing servers. Add any arguments, credentials, and permissions required by the maintainer; this template has not been install-tested.
{
  "mcpServers": {
    "io-github-bcldvd-dock-timelapse": {
      "command": "uvx",
      "args": [
        "dock-timelapse"
      ]
    }
  }
}
Restart Claude Desktop completely for changes to take effect. Confirm the server appears connected in the client’s tool list, then try a read-only example from its documentation.
Claude Desktop setup referencePackage
dock-timelapsepypiCompatible MCP Clients
Dock Timelapse works with any MCP-compatible client. Copy the config snippet from the Configuration section above and add it to the file shown for your client, then restart the application.
- Claude Desktop
~/Library/Application Support/Claude/claude_desktop_config.jsonRestart Claude Desktop completely for changes to take effect. - Cursor
~/.cursor/mcp.jsonRestart Cursor for changes to take effect. - VS Code
.vscode/mcp.jsonReload VS Code window for changes to take effect. - Windsurf
~/.codeium/windsurf/mcp_config.jsonRestart Windsurf for changes to take effect. - Claude Code
.mcp.jsonSave at the project root, then start Claude Code in that project and review the MCP server approval prompt. Keep real credentials out of shared files.